Instructions for installing and using the LiteSpeed Cache plugin for WordPress
Notes when installing and using the LiteSpeed Cache plugin.
First of all, when installing the LiteSpeed Cache plugin, you need to check whether the VPS or hosting you are installing has OpenLiteSpeed Web Server or uses LiteSpeed Web Server. It can be said that litespeed cache will work best on these two web servers. LiteSpeed Cache can work on other web servers such as Apache, NGINX… But to take advantage of all the features of the LiteSpeed Cache plugin you need OpenLiteSpeed, LiteSpeed or the QUIC.cloud CDN service. See more about installing OpenLiteSpeed.
But in our real test cases. For websites that have used the LiteSpeed Cache plugin, it is cache software. Web servers using OpenLiteSpeed and LiteSpeed Web Server will provide much faster speeds. Websites that use the LiteSpeed Cache plugin with a web server using OpenLiteSpeed or LiteSpeed Web Server also help the website become more stable. Websites that combine the above two software can both reduce web server load and speed up and optimize the website very well.
It’s no wonder the LiteSpeed Cache plugin has more than 4 million plugin installs on WordPress. When installing, many people complain about the LiteSpeed Cache plugin, but most of them do not combine it with a dedicated web server for the LiteSpeed Cache plugin, so the performance is often not high compared to other cache plugins.
Instructions for installing the LiteSpeed Cache plugin.
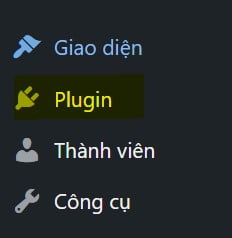
Login to the admin section of the wordpress website. Go to the Plugin section to install a new Plugin.
Install the LiteSpeed Cache plugin
Select install new plugin to search and install the plugin.

Choose to install new Plugin
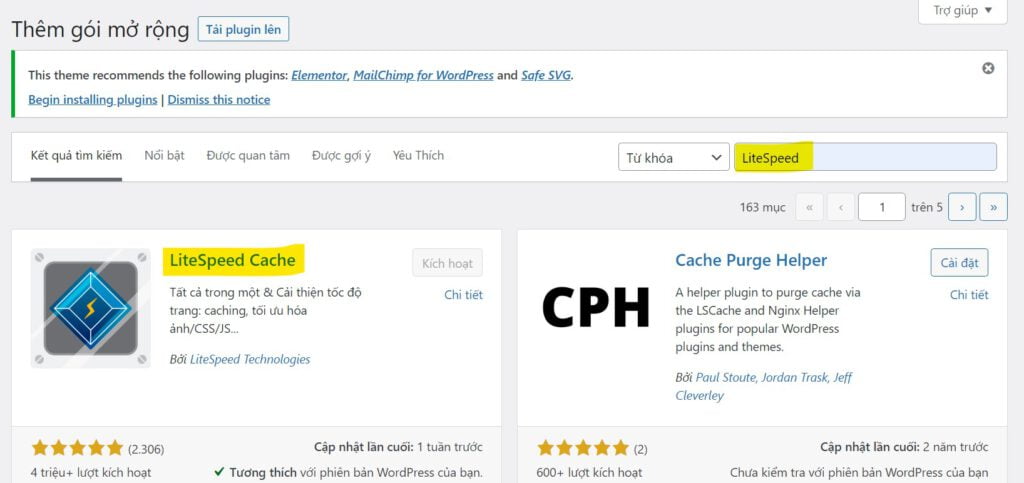
Search and install LiteSpeed Cache Plugin
Click install and activate LiteSpeed Cache Plugin.
Instructions for using the LiteSpeed Cache plugin.
Quickly install and use the LiteSpeed Cache plugin.
To quickly install and use the LiteSpeed Cache plugin, in the plugin management section, select Presets.
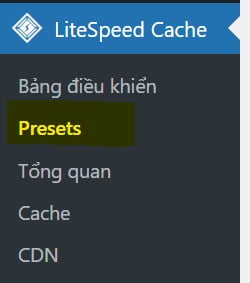
Go to Presets for quick settings
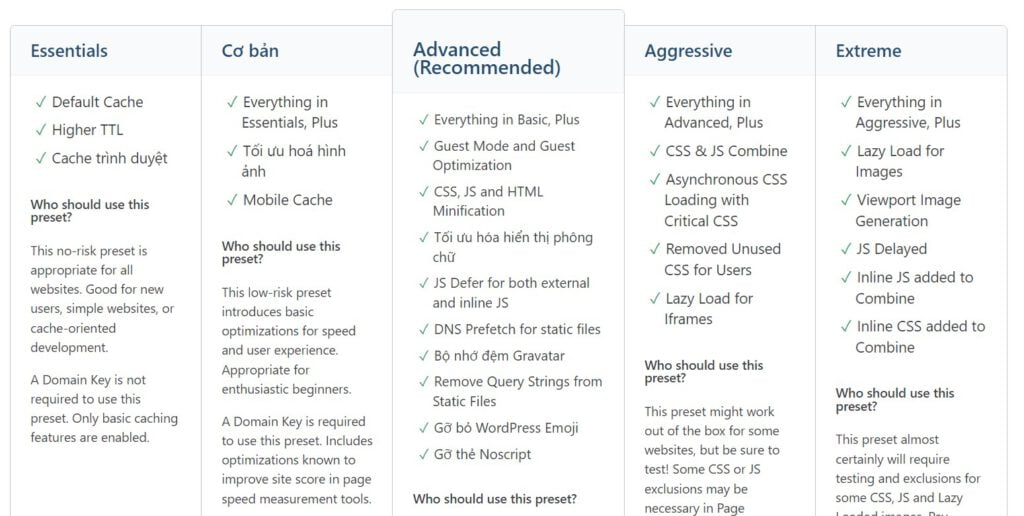
Select Advanced and click Apply Preset for quick settings
In this section you should select Advanced and click Apply Preset. According to the settings of our test. With this setting, all websites work well and give a pretty good experience. With higher levels such as the Aggressive option, pages that use woocommerce and stores may cause some errors. For simple, non-store pages, you can use the Aggressive option.
Advanced settings of LiteSpeed Cache plugin.
There are a number of advanced settings that can improve website speed using LiteSpeed Cache.
1. Set up website domain name and website ip.
Setting up the website domain name is an important installation step to use the software’s advanced services. You simply need to submit a request and wait to be granted a domain name lock. Go to the overview section to install this step.
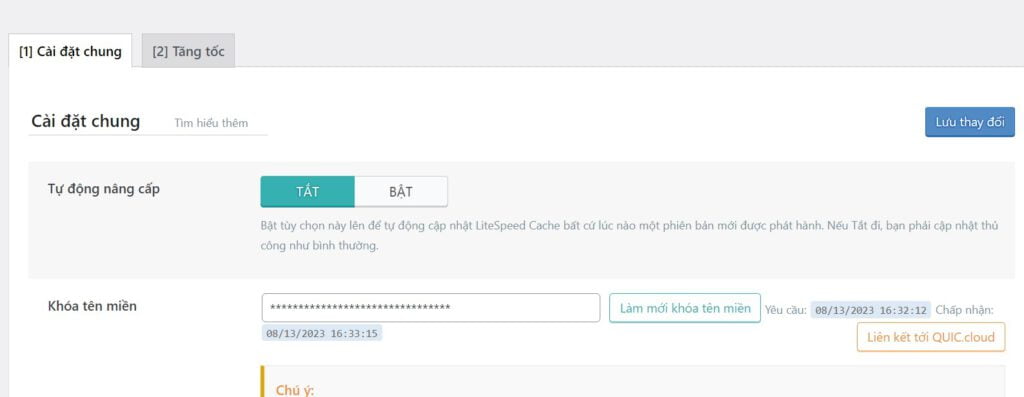
Click request new domain lock to request a domain lock

Add server IP to speed up Cloud service
2. Install Object Cache.
Go to Cache section and go to Object section to install Object Cache.
You need to know if your vps or hosting is supported by seeing if Object Cache is supported.
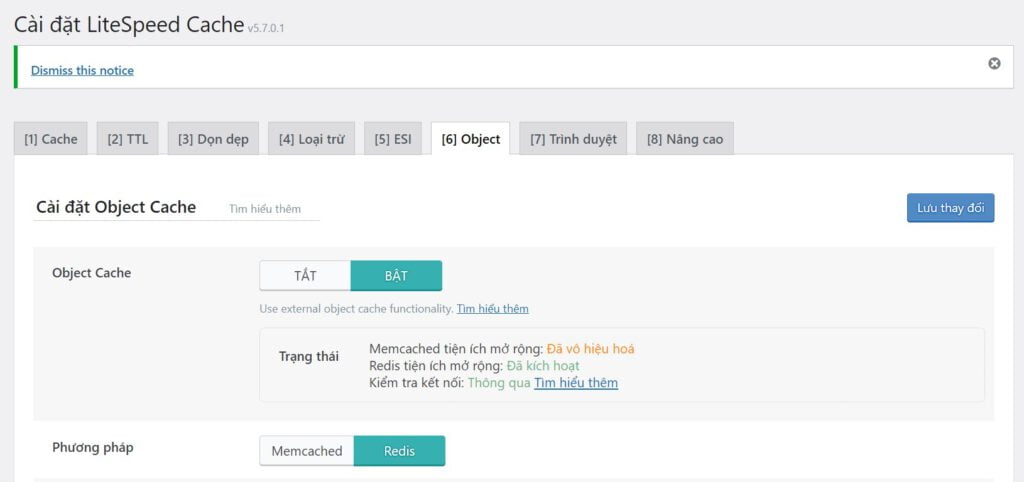
Install Object Cache for website
In the image hosting and vps support Redis with a green activated notification.
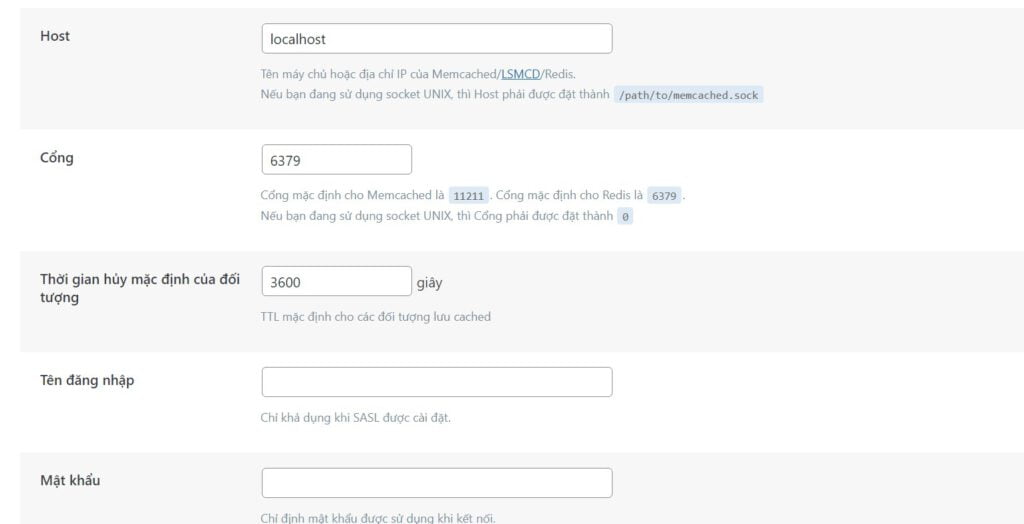
Install Object Cache Redis
In case Memcached choose Memcached and use port 11211.
3. Optimize images.
In this section, go to image optimization and click request image optimization. Note that this item can only be done when you have a domain name lock.
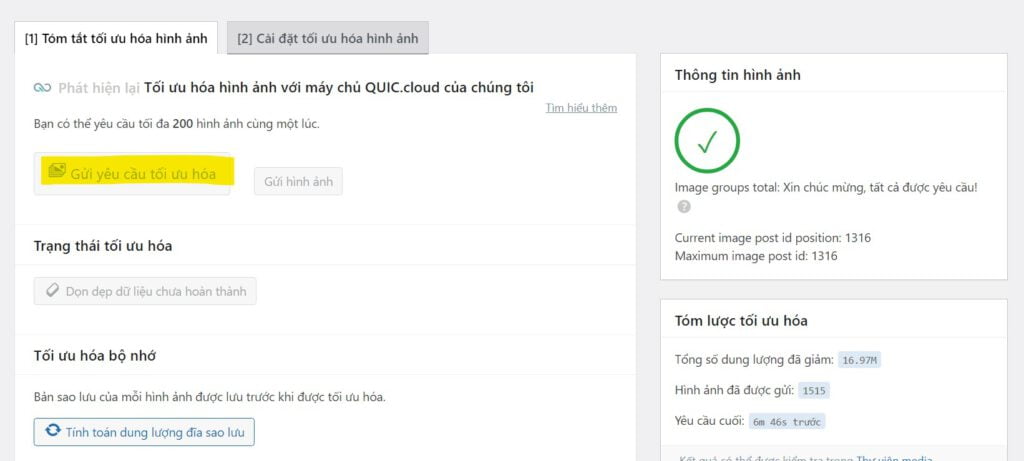
Submit image optimization
4. Clean up the database.
To optimize database speed, you should also regularly clean your database through the LiteSpeed Cache plugin.
In case you are not familiar with data management, you should skip this option to avoid losing scheduled posts and unnecessary damage on the website.
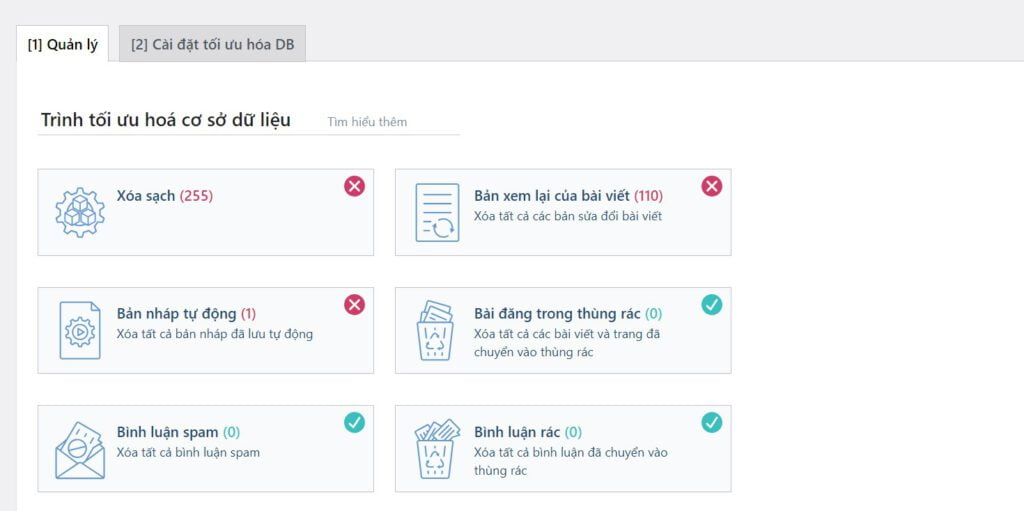
Clean up the database in LiteSpeed Cache

