Install SSL Let’s Encrypt hosting Apache switches to OpenLiteSpeed

This is a shared article on how to install free SSL Let’s Encrypt for hosts previously using Apache to switch to OpenLiteSpeed.
Why is it necessary to manually install SSL Let’s Encrypt on OpenLiteSpeed?
As you know, when switching from a hosting from Apache to OpenliteSpeed. The problem that arises now is that when switching to OpenliteSpeed, the features on Apache will not be available. Some good features on Apache hosting are good compatibility with SSL Let’s Encrypt with 3rd parties. OpenliteSpeed is different, it needs some settings to use and automatically renews SSL Let’s Encrypt. But with websites. Hosting previously on the Apache platform when switching to OpenliteSpeed will no longer be compatible with this.
Manual SSL Let’s Encrypt settings on OpenliteSpeed.
Requirements before installing SSL Let’s Encrypt:
1.Have access to ssh.
2.Hosting, VPS with CertBot installed.
Steps to manually install SSL Let’s Encrypt.
1.Log in to SSH.
2. Register for SSL Let’s Encrypt via CertBot.
Use command:
certbot certonly –non-interactive –agree-tos -m demo@gmail.com –webroot -w /var/www/html -d example.com
(replace your website with example.com and your email with demo@gmail.com).

Register SSL for hosting using openlitespeed
If successful, it will return 2 paths to store the SSL key and code.
3. Install SSL on hosting.
Open the link files returned by the cat command.

Open the file to get the SSL Privaty Key

Open the file and copy CERTIFICATE SSL
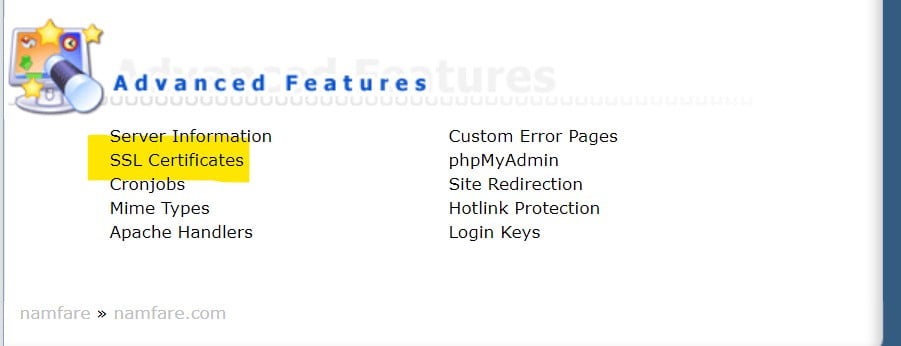
Copy the content of all these files and save them to the SSL section on Hosting.

Install SSL manually on hosting
Paste the copied part into the section below.

Paste the generated SSL key into hosting
Save and check again to see if it matches the validity of the returned SSL.
Good luck.


